Physical Address
304 North Cardinal St.
Dorchester Center, MA 02124
Physical Address
304 North Cardinal St.
Dorchester Center, MA 02124

In Activity 1, we learned how to build the structure (the HTML skeleton). In Activity 2, we took the next step: making that text look good! This activity focused on using basic styling (like color and font) and powerful formatting tags to control how text appears on the page. We used simple CSS (Cascading Style Sheets) right inside our HTML to customize the look of the content.
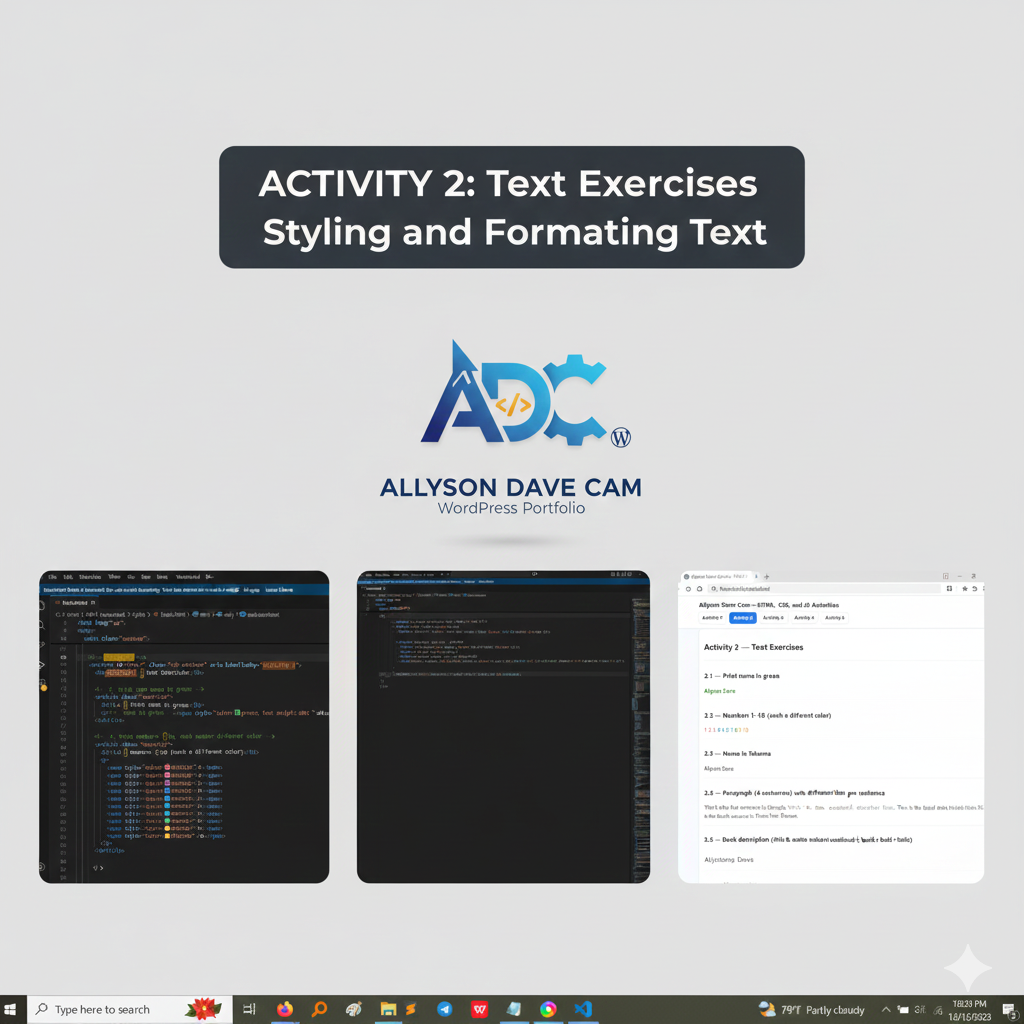
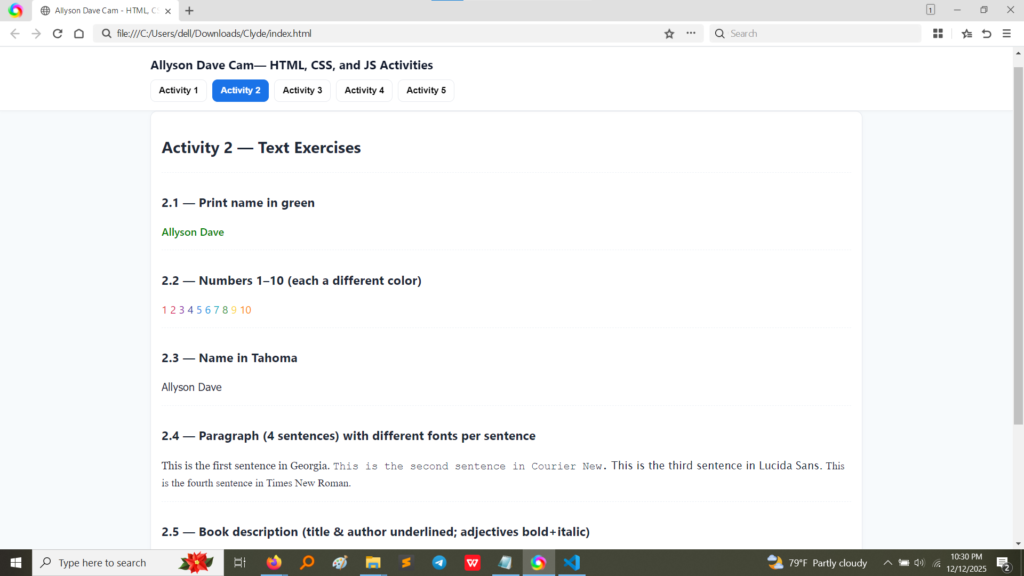
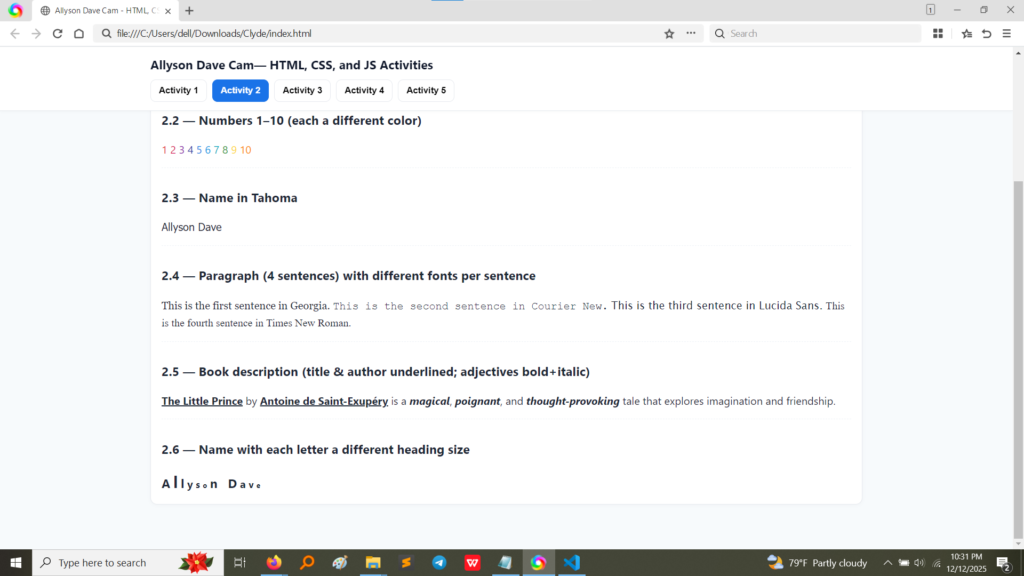
This screenshot shows the completed output for all the different text exercises. The goal for each exercise was to make the text behave or look a specific way.
As you can see, we tackled:
These screenshots show the HTML and CSS used to achieve the different effects in Activity 2.
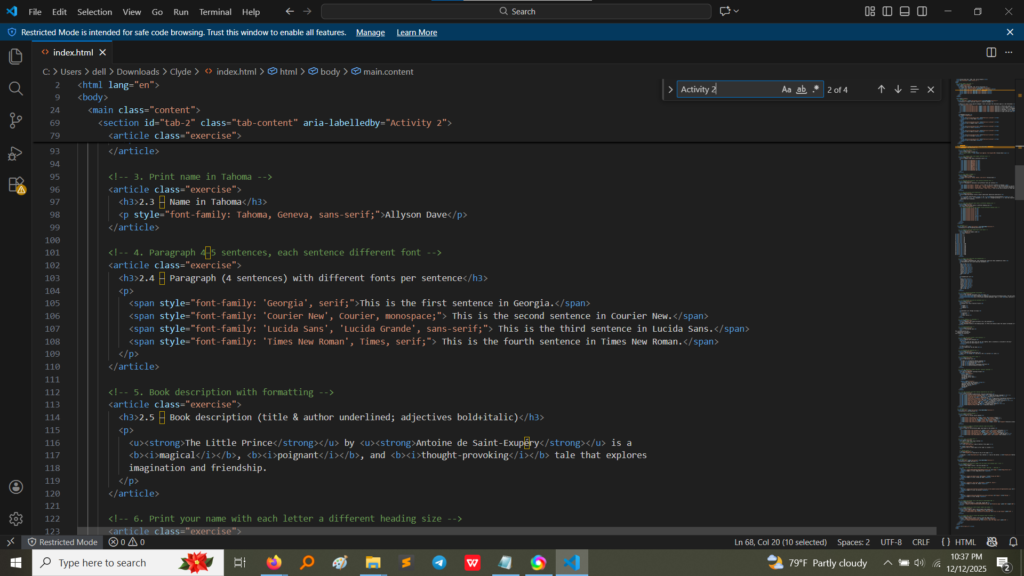
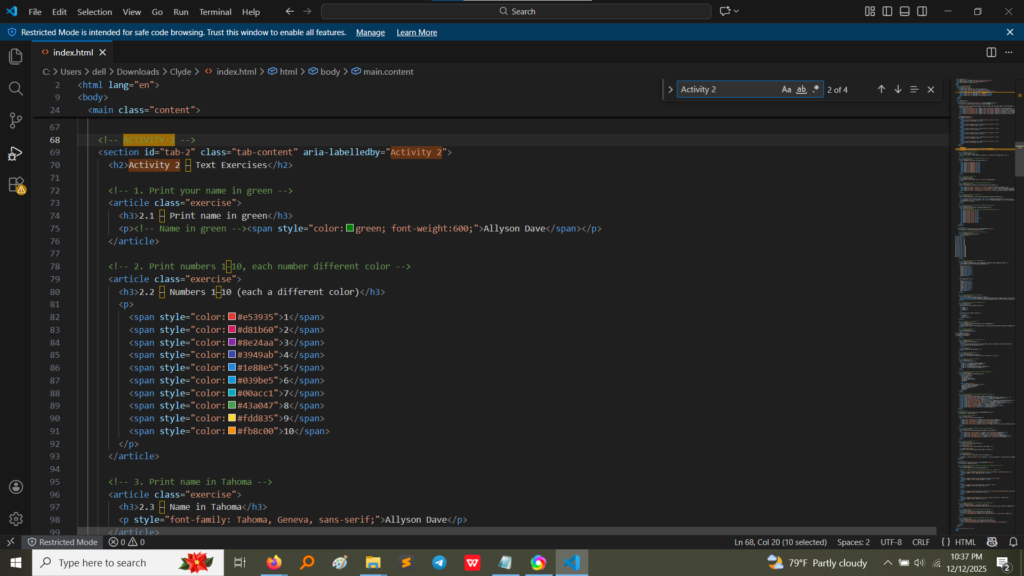
Let’s break down how we achieved some of the key effects:
<span> tag. This tag doesn’t do anything by itself, but it acts like a container that allows us to apply a style to just that piece of content.<span> tag, I used the style attribute. For example: <span style="color: green;">My Name</span>. For the numbers, I had to apply a different color code (like #e39351 for orange-red) to ten separate <span> tags! This taught me how powerful and precise inline styling can be.<span> tag was essential here, wrapping around each sentence.font-family. For example: <span style="font-family: 'Courier New', Courier, monospace;">This is the second sentence.</span>. This demonstrated how to control typography and use system fonts like Georgia, Courier New, Lucida Sans, and Times New Roman.<u> tag for the title and author.<strong> tag for important adjectives (“magical,” “poignant,” “thought-provoking”).<i> tag for the word “tale.”<strong> is for importance (strong emphasis), while <b> is for just visual boldness (basic bold).This activity moved us from simple structure to actual design and presentation. The main lessons were:
style attribute directly inside my HTML tags. This allows for quick, precise control over colors, fonts, and other visual properties.<span>: This tag became one of the most useful tools! It lets you target and style a tiny section of text without changing the structure of the surrounding paragraph or heading. It’s the ultimate inline text editor.<strong> (which says “this is important”) and older tags like <b> (which just says “make this bold”). Using the right tag helps search engines and accessibility tools better understand your content.