Physical Address
304 North Cardinal St.
Dorchester Center, MA 02124
Physical Address
304 North Cardinal St.
Dorchester Center, MA 02124

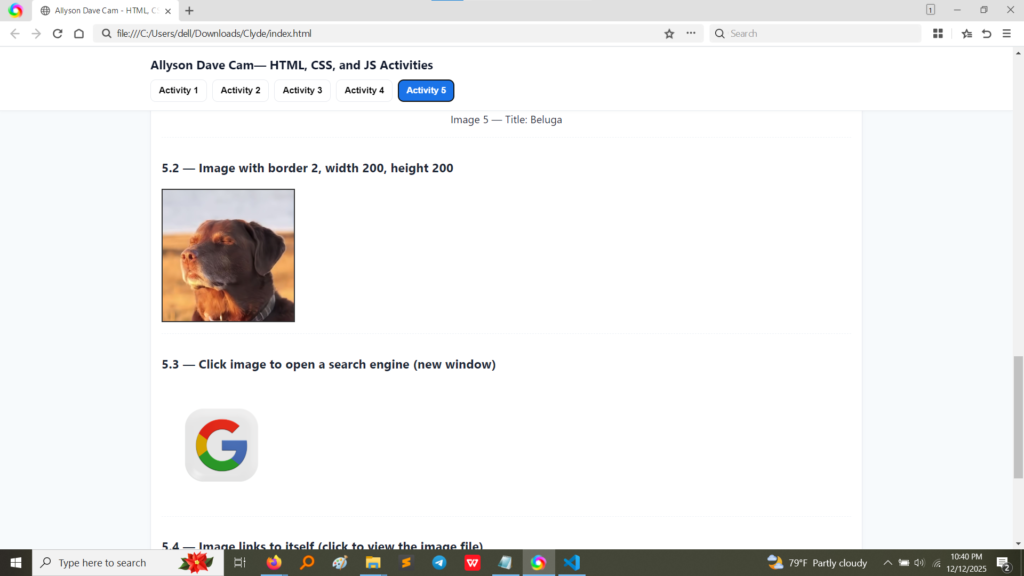
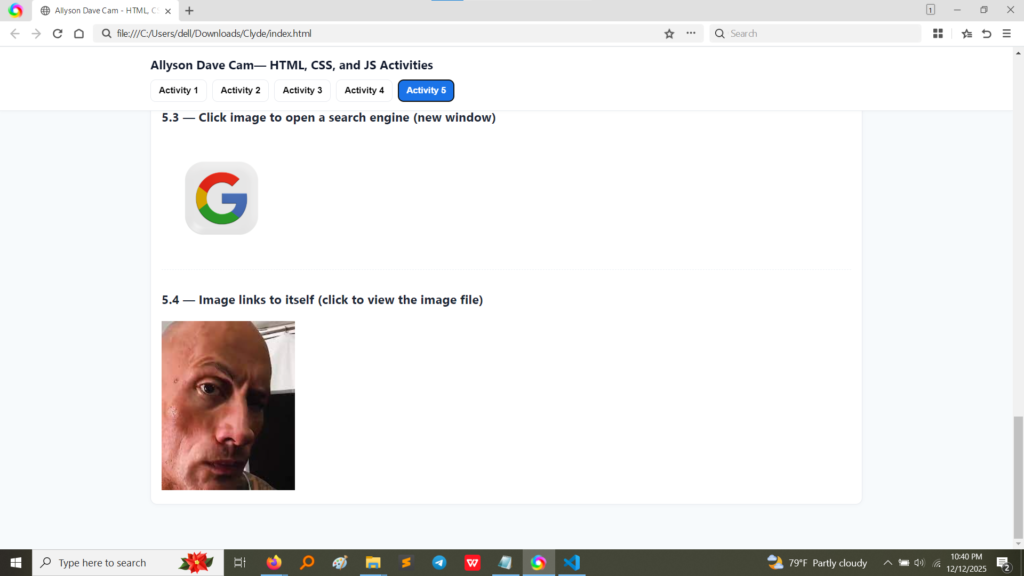
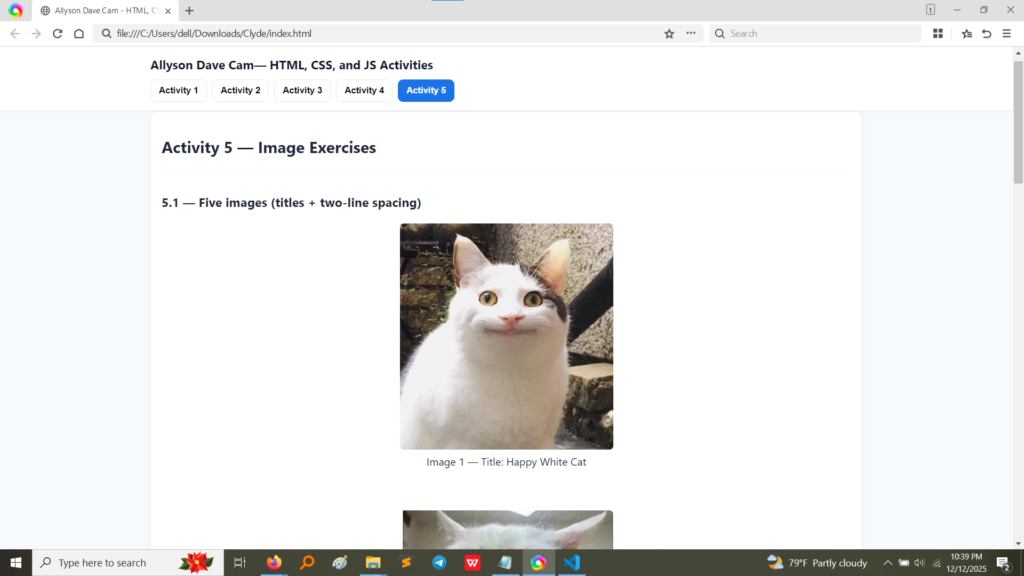
A webpage full of just text can be boring! Activity 5 taught us how to introduce visual interest by adding images. We learned the essential <img> tag, how to control image size, add borders, and, most importantly, how to turn an image into a link that takes a user somewhere else.
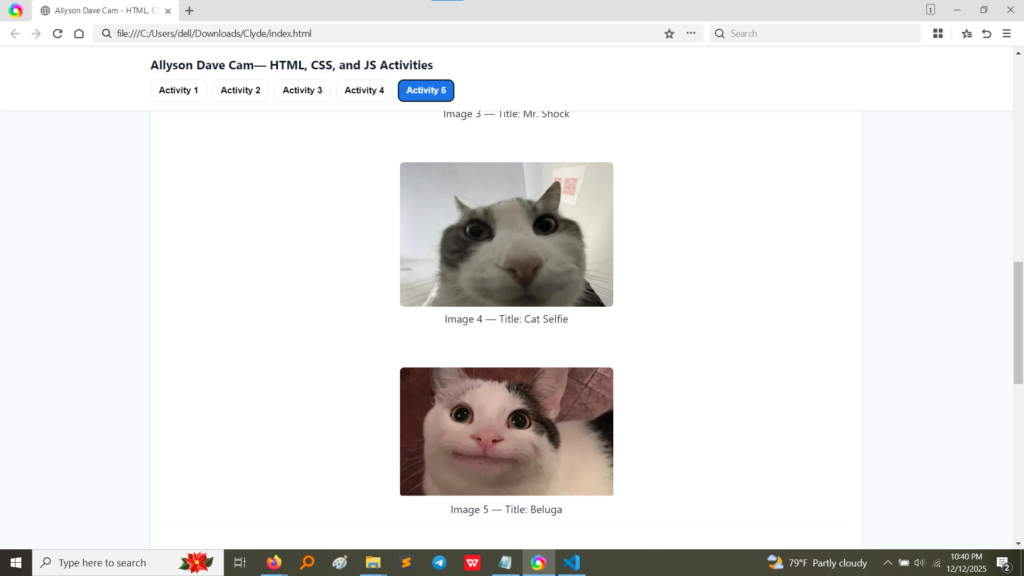
The screenshots below show the final results of the image exercises. You can see we successfully added images, styled them, and made some of them clickable.

Key results displayed:
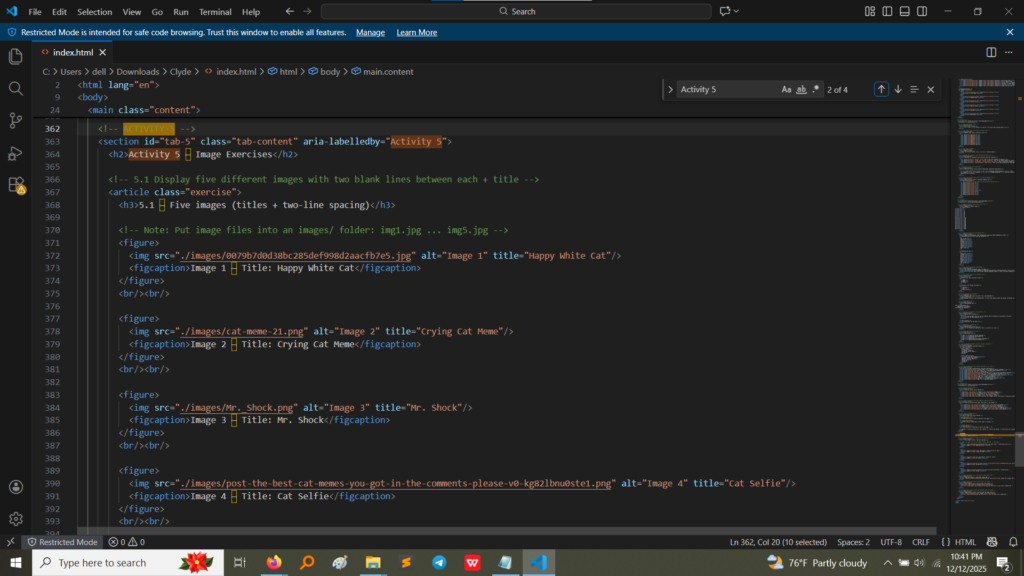
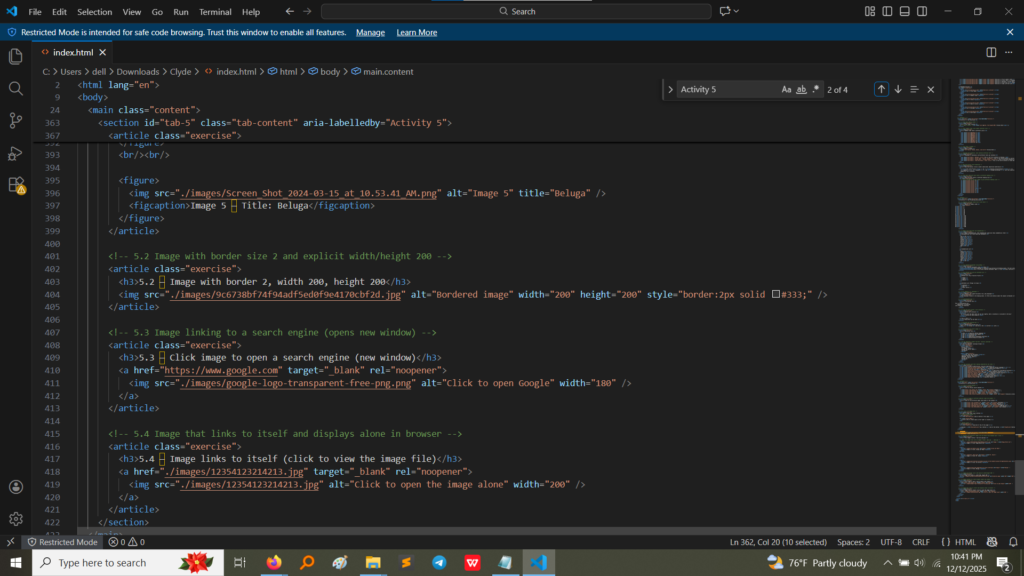
These screenshots show the HTML code for Activity 5, focusing on the <img> tag and its attributes.
Let’s break down the main concepts:
<img> Tag: This is the core tag. It’s a “self-closing” tag, meaning it doesn’t need a closing </img>.src Attribute: This is the most vital part! It stands for source and tells the browser exactly where the image file is located (e.g., images/img1.jpg).alt Attribute: This is absolutely essential! It stands for alternate text. This text is displayed if the image fails to load, and, more importantly, it is read aloud by screen readers for users who are visually impaired. It’s crucial for accessibility.<figure> and <figcaption> Tags: I wrapped each image in these tags. This is the correct way to add a picture with a descriptive title (the figcaption). This structure keeps the image and its title formally connected.width and height Attributes: I explicitly set the size using width="200" and height="200". This ensures the image loads exactly the size I want, preventing strange layout shifts.style Attribute: I used inline CSS (style="border: 2px solid red;") to give the image a 2-pixel red border. This exercise showed me that images can be easily styled just like text elements.<img> tag inside an <a> tag.HTML<a href="https://www.google.com" target="_blank" rel="noopener"> <img src="..." alt="Google logo"> </a> Since the <img> tag is the content of the link, clicking anywhere on the image performs the link's action. This is how almost every button and icon on the web worksActivity 5 provided the knowledge needed to add rich, meaningful visual content to any page. The main lessons were:
<img> Attributes: I learned that an image tag is useless without the src (source) and the professional web is incomplete without the alt (alternate text) attribute.width and height attributes to control the dimensions, which is vital for designing layouts that look the same across different devices.<img> tag inside an <a> tag to turn any picture into a functional piece of navigation.