Physical Address
304 North Cardinal St.
Dorchester Center, MA 02124
Physical Address
304 North Cardinal St.
Dorchester Center, MA 02124
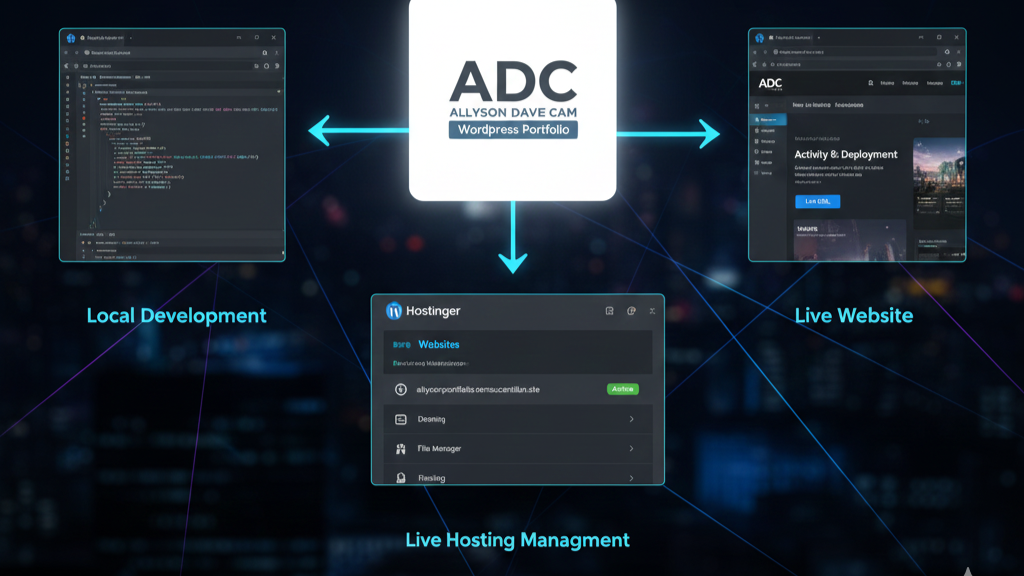
After building and testing the portfolio website locally (on my own computer), this final step was to make it publicly accessible on the internet. This involved purchasing and configuring web hosting and a domain name through Hostinger. This activity proves proficiency in the entire lifecycle of a website, from coding to live deployment and management.
The entire portfolio is now accessible and live online!
Live URL: http://allysonportfolio.nemsucantilan.site
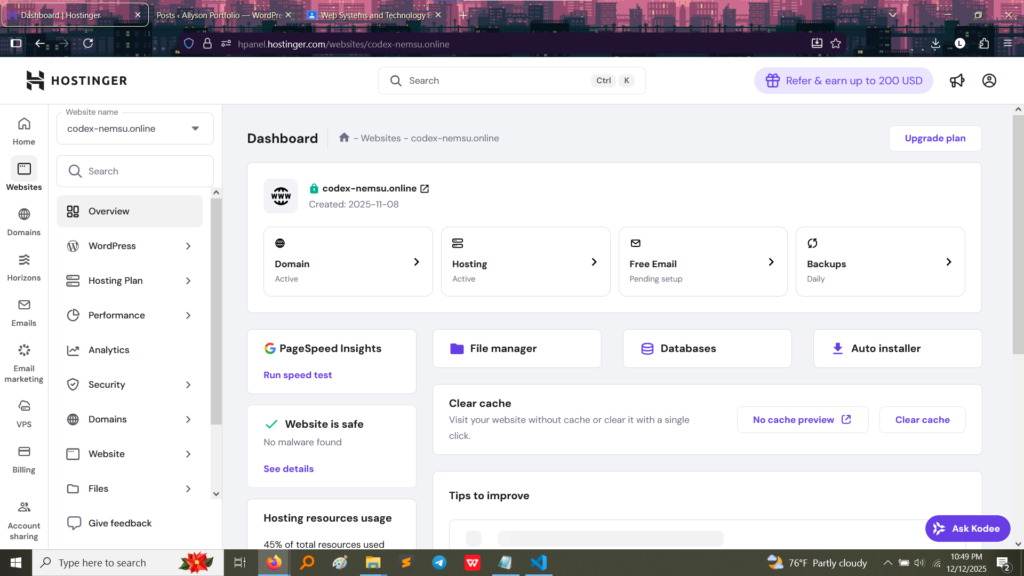
Note: The primary demonstration site is codex-nemsu.online, which is the site managed in the dashboard screenshots.
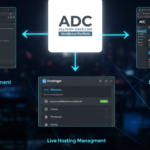
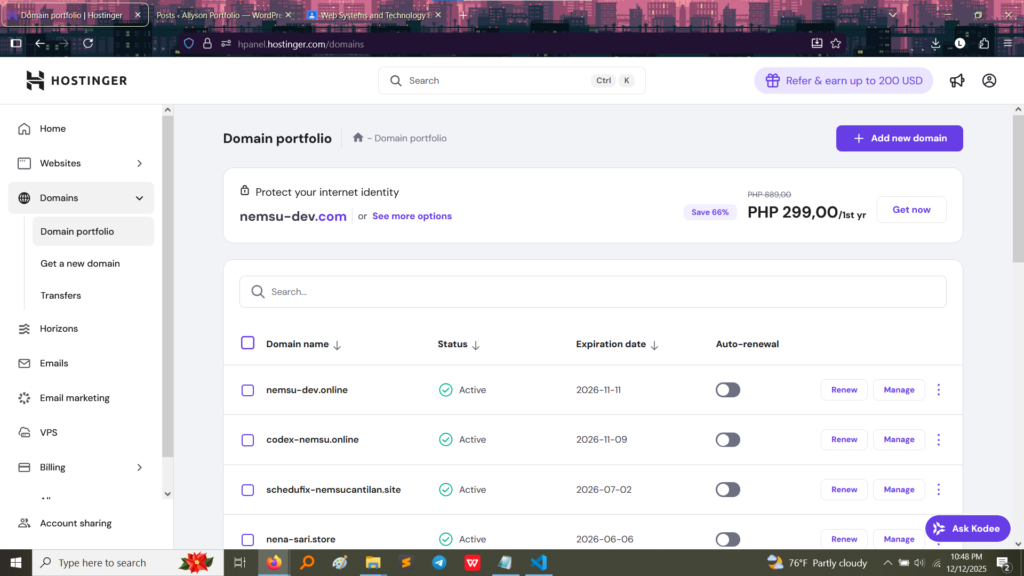
The following screenshots from the Hostinger control panel (hPanel) confirm the active hosting plan and the live domain.
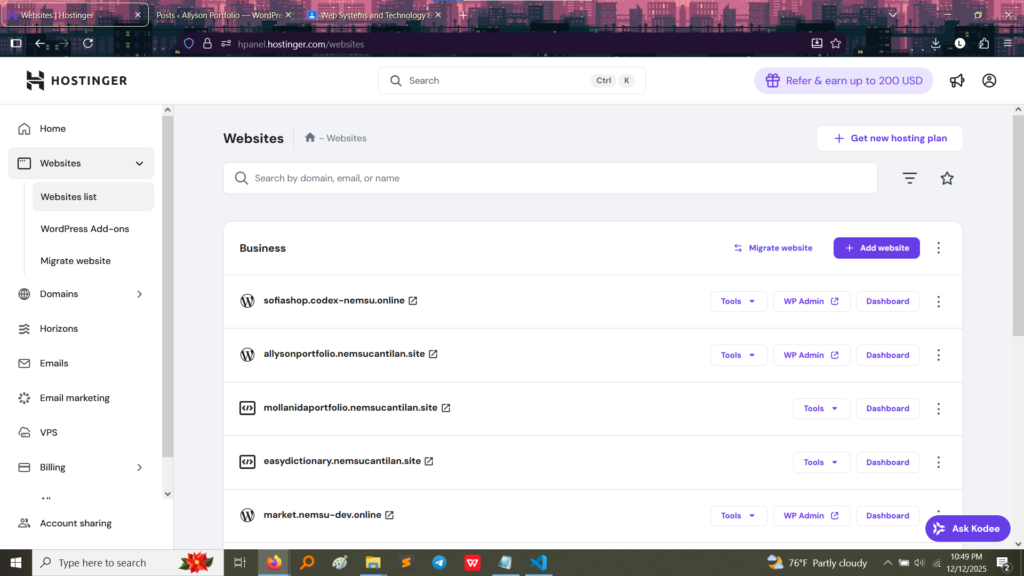
This screenshot confirms that the website, allysonportfolio.nemsucantilan.site, is successfully set up under the hosting plan and is listed as an active website.
This dashboard view provides details for the site codex-nemsu.online and shows that both the Domain and Hosting services are Active. This proves the server space and the domain name are correctly configured and working together.
Deploying a local WordPress site (like the one used for the CRUD activity) to a live server is a multi-step process that ensures everything runs smoothly under the public domain.
Here is a summary of the steps I executed in Hostinger:
nemsucantilan.site or codex-nemsu.online).allysonportfolio.nemsucantilan.site), ensuring all internal links worked correctly on the live site.https).This process resulted in the fully functional, publicly deployed portfolio website you are viewing now.